Both a new installation as an update of Vabi Elements are done in the same way.
As a Windows user, make sure you have permission to install programs. (Administrative rights or administrator.)
When you update Vabi Elements, the Central library will not be lost, even if you have reinstalled it. The library is automatically backed up from your older version.
1. Download the setup file and open the downloaded setup.
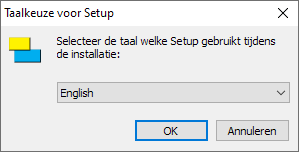
2. Select your language and click OK. This language setting is intended for the setup and does not affect the language selection in the program Vabi Elements itself.

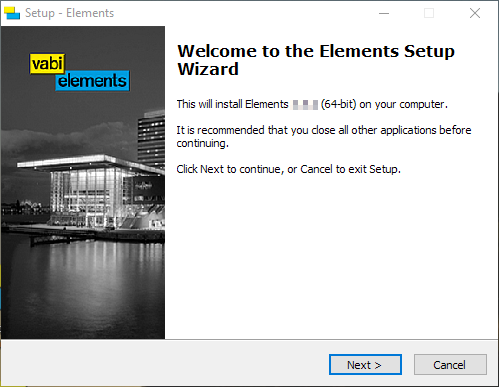
3. Click Next.
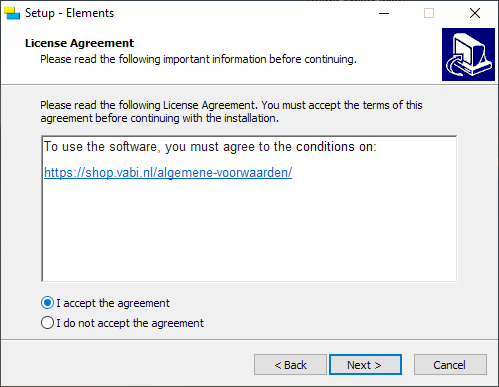
4. Please read the license Agreement carefully and accept the agreement.
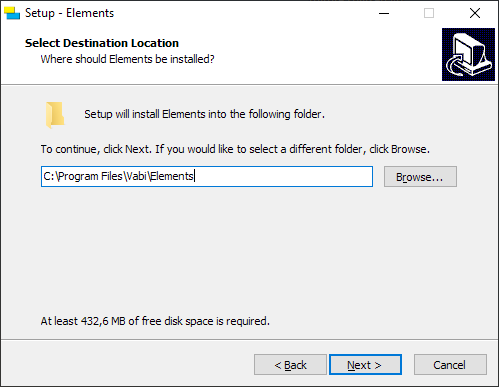
5. Choose the installation folder where you want to Install Vabi Elements and click Install.
It will be installed in %programfiles%\Vabi\Elements\.
The program is now installed. The setup downloaded from the Internet will attempt to contact the latest version of DirectX during installation . Depending on your Internet connection, this may take a little longer.
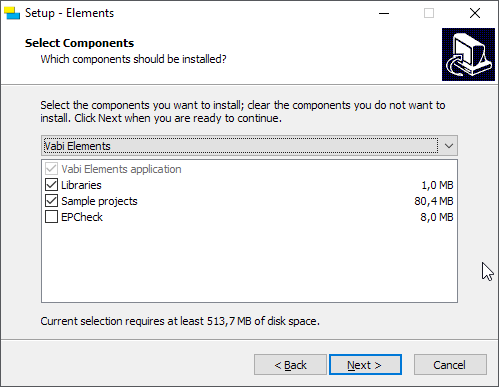
If desired and if possible, select the parts you want to install.
If you wish to
restore/refresh the library, please tick "library files". If you want to keep
your own library, leave it unchecked. If you want to read the new Bio-Library
with your old merge, continue reading here.
If you want to install sample
projects, check "sample Projects".
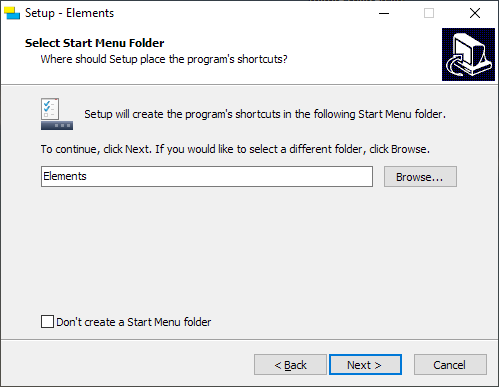
6. Optionally give the installation a different name, which can be found in the Windows software list. Click Next.
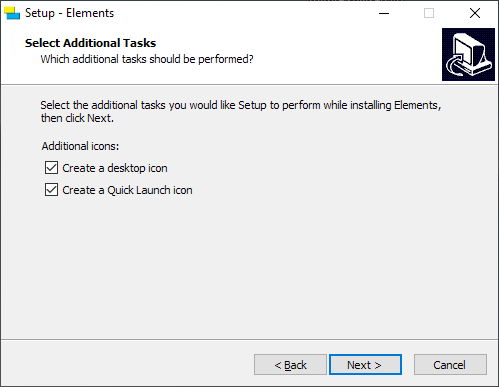
7. Choose where you want additional shortcuts to Vabi Elements. Click Next.
If you want a shortcut on the desktop, then tick "create a shortcut on the desktop".
If you want a shortcut in the taskbar, then tick "create a shortcut on the Quick Launch toolbar".
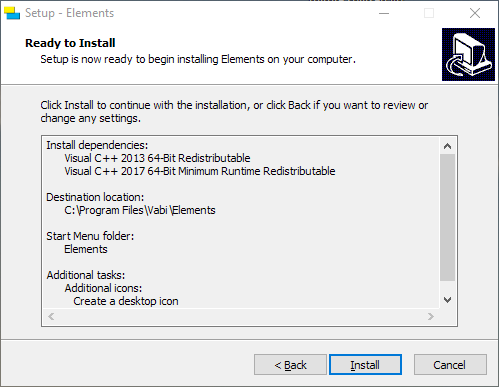
8. Click Install. The program is now installed.
9. You can now choose to start Vabi Elements directly. After that, you can exit the setup by clicking Finish .